Purpose/Objective- The purpose of this lab was to determine the frequency of the Alu insert in the STEM Bio class using PCR.
Hypothesis- If you do this procedure correctly, then you should be able to analysis your DNA.
Materials- We used lots of different materials to complete this lab. We used a cup of salt water to remove some DNA cells from our cheeks. Then we used a pipet to extract some of our DNA cells and put that into a microfuge tube. We put our cheek DNA cells into a micro centrifuge to spin our saline cell. We also used a Chelex tube. We used a heat block to heat up our tube. We used a rack to keep our tube with the DNA sample in. We also used primer mix, master mix (nucleotides, DNA Polymerase), and TBE (Buffer, Agarose gel.) A DNA stain solution was also used.
Procedure- We began this project by swirling salt water in our mouths to extract our cheek cells. Once we had our extracted DNA cells, (mixed with the salt water), we put it into a microfuge tube, and then placed it into a micro centrifuge, to spin our saline cell. After being spun in the micro centrifuge, the cell pellet was at the bottom of the tube. We then added 50 microliters of Chelex to the cell pellet, and put it into the heat block. We got a new tube, and withdrew 50 microliters with a P-200, and racked the tube. Then, in a tiny PCR tube we put 20 microliters of Master Mix, 20 microliters of Primer Mix, and 10 microliters of the extracted DNA. Lastly, we put it into the thermal cycler. On the next day we started off by making our gel, and then put 5 microliters of dye into the PCR tube. We then placed 20 microliters of DNA/loading dye mixture into the gel. Once we were done, we let it sit over the weekend, and analyzed it on Monday.
Results- We did this lab twice. The first time we put the wrong amount of primer mix into the PCR tube along with the DNA that we extracted. Since we made a mistake, we had to restart the lab the next day. The next day we did the lab and were able to finish it, but since it was Friday, we had to wait until Monday to analysis the DNA. One Monday we didn't know who's gel was who's because we forgot to label them on Friday. Since the DNA was already a few days old on Monday, it was very hard to analysis it. Then we did the PCR for the third time, and it finally worked.
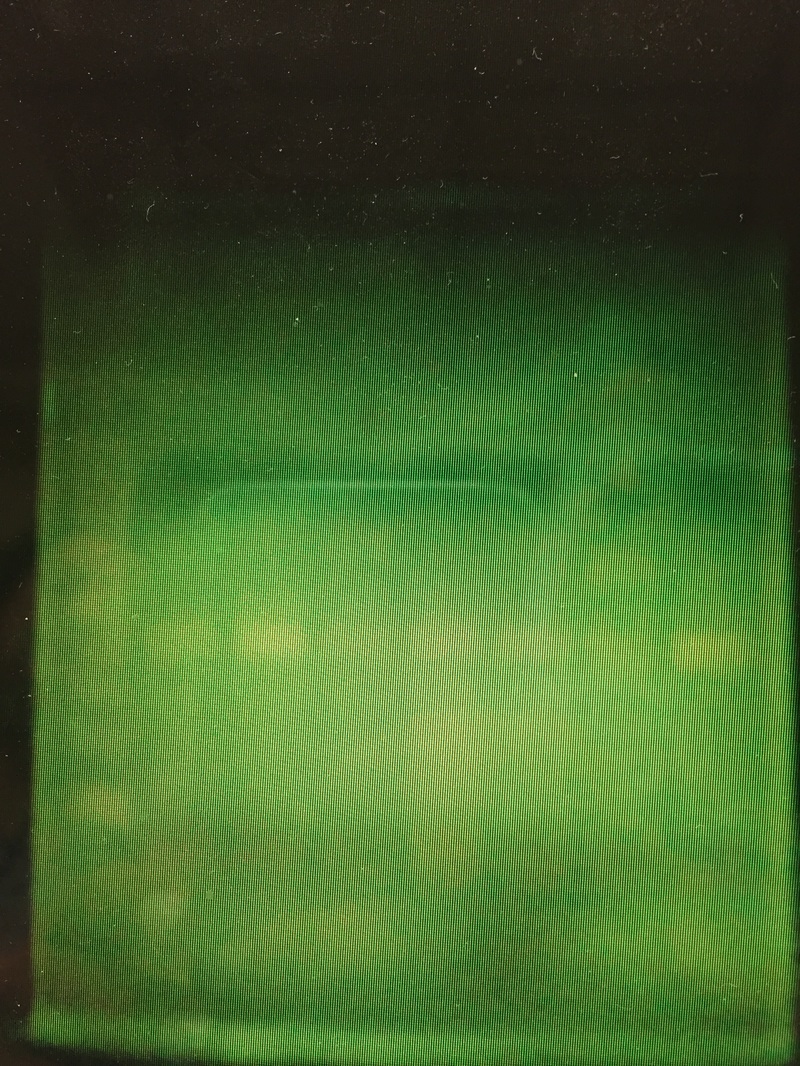
Analysis- The mistake we made the first day, which then forced us to restart the experiment the second day, was honestly just something that we have to learn from. As a class we learned the importance of reading directions closely and not going too quickly. By doing the lab twice, we had a bettering understanding of the material. Ms. Flasher took a picture of the DNA gels over the weekend, so we tried our best to analyze the picture. When we did it for the third time, i finally got a result. It turns out that I'm (-,-). My result is in lane 4, (the fourth one from the left hand side.)
Hypothesis- If you do this procedure correctly, then you should be able to analysis your DNA.
Materials- We used lots of different materials to complete this lab. We used a cup of salt water to remove some DNA cells from our cheeks. Then we used a pipet to extract some of our DNA cells and put that into a microfuge tube. We put our cheek DNA cells into a micro centrifuge to spin our saline cell. We also used a Chelex tube. We used a heat block to heat up our tube. We used a rack to keep our tube with the DNA sample in. We also used primer mix, master mix (nucleotides, DNA Polymerase), and TBE (Buffer, Agarose gel.) A DNA stain solution was also used.
Procedure- We began this project by swirling salt water in our mouths to extract our cheek cells. Once we had our extracted DNA cells, (mixed with the salt water), we put it into a microfuge tube, and then placed it into a micro centrifuge, to spin our saline cell. After being spun in the micro centrifuge, the cell pellet was at the bottom of the tube. We then added 50 microliters of Chelex to the cell pellet, and put it into the heat block. We got a new tube, and withdrew 50 microliters with a P-200, and racked the tube. Then, in a tiny PCR tube we put 20 microliters of Master Mix, 20 microliters of Primer Mix, and 10 microliters of the extracted DNA. Lastly, we put it into the thermal cycler. On the next day we started off by making our gel, and then put 5 microliters of dye into the PCR tube. We then placed 20 microliters of DNA/loading dye mixture into the gel. Once we were done, we let it sit over the weekend, and analyzed it on Monday.
Results- We did this lab twice. The first time we put the wrong amount of primer mix into the PCR tube along with the DNA that we extracted. Since we made a mistake, we had to restart the lab the next day. The next day we did the lab and were able to finish it, but since it was Friday, we had to wait until Monday to analysis the DNA. One Monday we didn't know who's gel was who's because we forgot to label them on Friday. Since the DNA was already a few days old on Monday, it was very hard to analysis it. Then we did the PCR for the third time, and it finally worked.
Analysis- The mistake we made the first day, which then forced us to restart the experiment the second day, was honestly just something that we have to learn from. As a class we learned the importance of reading directions closely and not going too quickly. By doing the lab twice, we had a bettering understanding of the material. Ms. Flasher took a picture of the DNA gels over the weekend, so we tried our best to analyze the picture. When we did it for the third time, i finally got a result. It turns out that I'm (-,-). My result is in lane 4, (the fourth one from the left hand side.)